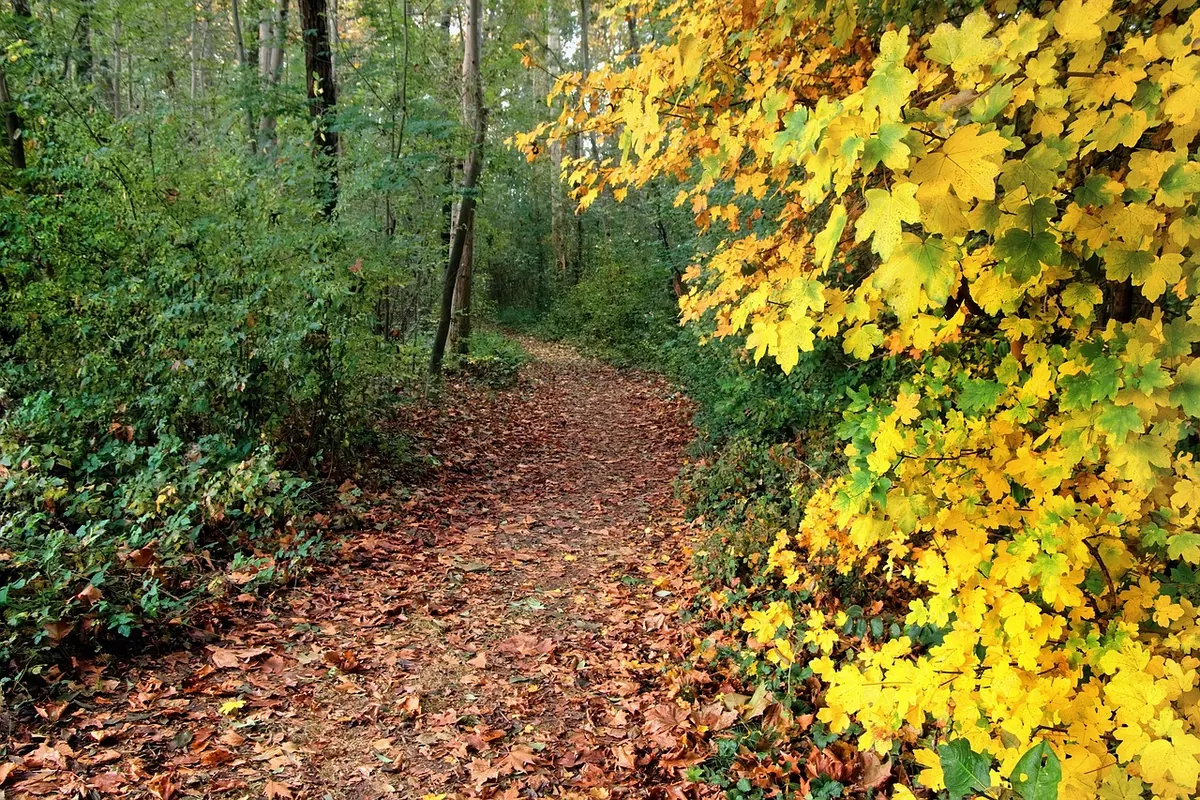
Autumn in a British wood is a short and unreliable event. One gale can strip a beech hanger in an afternoon; a wet October can leave you standing in leaf litter under a sky the colour of wet cardboard. That unpredictability is exactly the appeal. The colour is fleeting, the light is changeable, and the pictures that work usually come from a little planning and a willingness to keep walking.
Reading the Season
Autumn colour does not arrive everywhere at once. It moves south and downhill, species by species, and the gap between a wood at 300 metres in the Pennines and a sheltered valley twenty miles away can be a fortnight. As a rough guide, the Highlands and northern uplands start turning in late September, most of England and Wales follows from mid-October, and the best of it usually falls in the last week of October and the first ten days of November. Oak and beech often hold colour into mid-November if the wind stays away.
What turns when
- Birch and rowan: first to go, gold and apricot, often in the north by late September.
- Beech: the reliable showstopper — copper, orange and rust for two or three weeks.
- Sycamore and field maple: useful yellows, especially against dark conifer.
- Oak: slower and browner, but it hangs on long after beech has dropped.
- Ash: dull brown and gone quickly. Don't plan a trip around it.
- Larch: turns gold, then loses its needles entirely.
Learn what actually grows in the wood nearest you. A summer walk with a tree guide will tell you more than any forecast.
Weather: What to Hope For, What to Work With
Flat, grey light is the British default, and it is not the disaster many photographers treat it as. Overcast conditions give even illumination, no blown highlights in the canopy, and deep colour in wet bark and leaves. For close work — a single branch, a fallen trunk, a carpet of leaves — it is often better than sun.
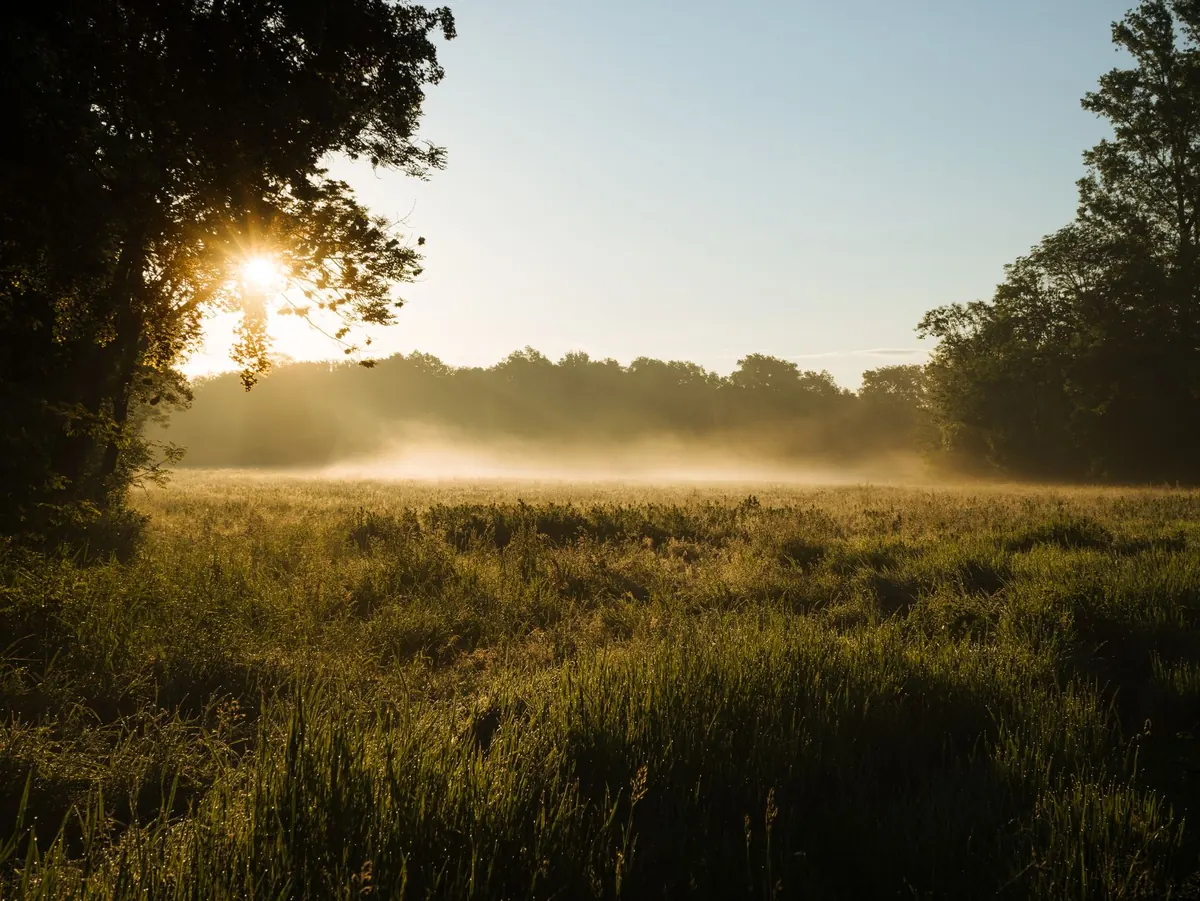
Mist is the real prize. It separates trunks into layers, hides the messy background and gives an ordinary wood depth. Look for it after a clear, still night following rain, and head for valleys, rivers and lake edges. Arrive before sunrise; it often lifts within an hour of the sun clearing the horizon.
Rain is workable. Wet leaves and bark look richer than dry ones, and a polarising filter cuts the sheen on foliage so the colour reads properly. Take a cloth, a hood and something waterproof for the camera.
Hard sun is the difficult one. Woodland interiors become a jumble of highlights and black shadows. When it breaks through, move to the edge of the wood, photograph backlit leaves against a shaded background, or work the first and last hour of the day when the light comes in low and sideways. Wind is the only true deal-breaker: anything above a brisk breeze blurs leaves at the shutter speeds you need in shade, and it strips the canopy you came for.
Composition in a Crowded Wood
Woodland is visually chaotic, which is why so many autumn photographs end up as a wide shot of a lot of trees. Decide what the picture is about before you set up.
Work in layers. A dark trunk close to the camera, a band of colour in the middle distance and mist behind gives the eye somewhere to travel. A path, a stream or a fallen log does the same job as a leading line.
Simplify ruthlessly. Check the edges of the frame for half-trees and bright gaps of sky, and take two steps sideways rather than accepting them. A long lens helps enormously: at 100–200mm you can compress a group of trunks into a pattern or isolate one tree against a bank of colour.
Change your angle. Look down for leaf litter, fungi and roots; look up for a canopy against pale sky; get low to make a small subject feel significant.
Settings and Kit
- Tripod. Shade in a wood means slow shutter speeds, and a tripod lets you stop down without pushing ISO.
- Lens choice. A standard zoom covers most scenes, a telephoto isolates, a macro handles the details.
- Aperture. Around f/8 to f/11 for most woodland scenes, f/16 if you need front-to-back sharpness.
- Exposure. Keep ISO low, watch the histogram and set exposure so the brightest leaves sit just short of clipping. Bright sky will always pull the meter down if you let it.
- Focus. On a tripod, use live view and manual focus a third of the way into the scene. For close work, focus on the detail that matters and let the rest fall soft.
A polariser is the one filter worth carrying. It deepens colour and controls reflections on wet leaves, at the cost of a stop or two of light you can easily afford on a tripod.
Mistakes Worth Avoiding
Chasing "peak" as though it were a single day leads to disappointment. A wood at sixty per cent colour, photographed well in mist, beats a wood at peak under a blank sky.
Two other habits cost more pictures than bad weather. The first is shooting only wide views; small scenes survive flat light far better. The second is over-saturating in editing. Autumn colour is already vivid, and pushing it further looks unnatural fast.
A Practical Field Routine
Check the forecast the night before and go on grey, still mornings rather than waiting for sun. Arrive before first light, walk the wood once without the camera to find two or three compositions, then return to them as the light develops.
Work close when the light is flat and go wide when it breaks. Stay in one area long enough to notice things; most people leave a good wood too early. Wear boots, because paths will be muddy, and keep to established tracks in sensitive woodland.
Treat it as a season rather than a single trip. Visit the same wood three or four times from late September into November and you will come away with a set of pictures that shows how the place actually changes.
Photo: Camera-man / Pixabay