There is a moment above Buttermere when the cloud lifts off High Stile for thirty seconds and the whole valley turns silver. You will fumble for the camera, knock the tripod, and miss it. That is the Lake District: modest hills, immoderate weather, and light that changes while you are still pulling your gloves on. The fells here are small enough for a beginner to learn on, and dramatic enough that you will come home with something worth keeping.
What follows covers the things that actually decide whether a trip works: reading the forecast, choosing a viewpoint to suit the light, carrying the right kit, and staying safe on ground that is steeper and wetter than it looks.
Weather Is the Subject
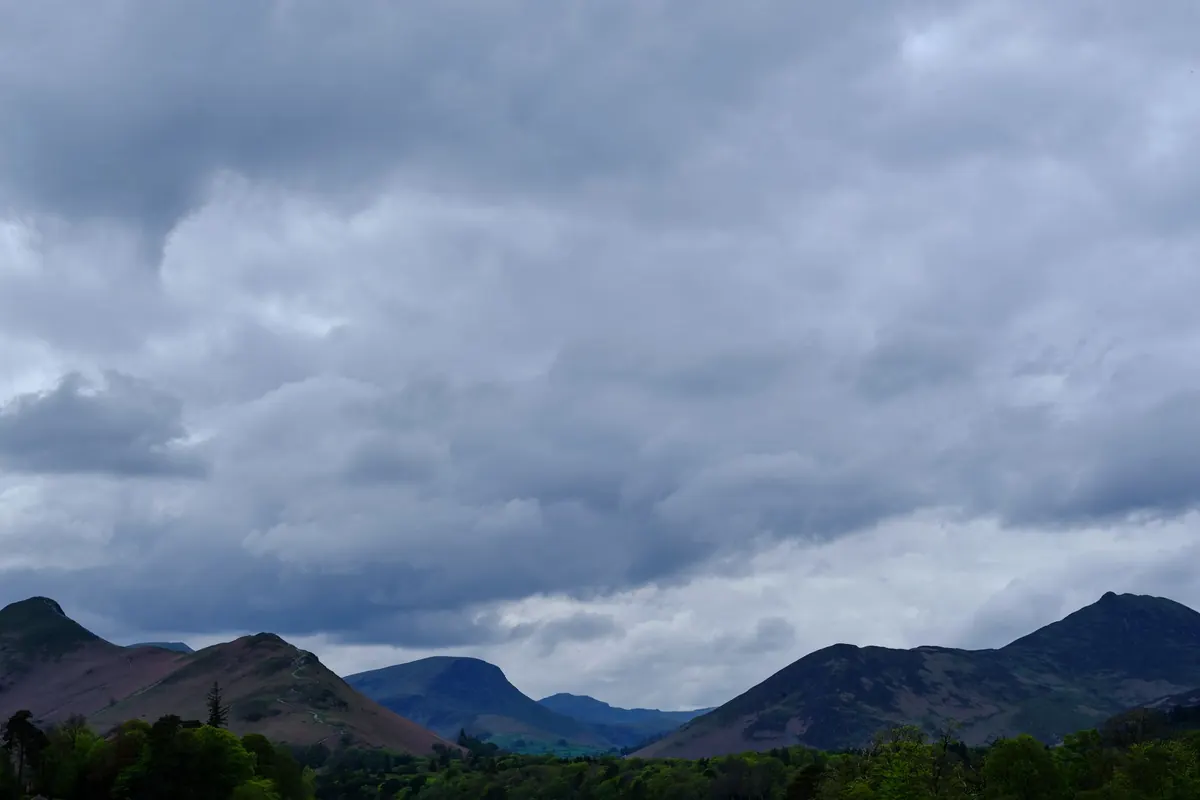
Most people plan around a viewpoint. In Cumbria it pays to plan around the weather and let the location follow. A clear blue day is lovely to walk in and often flat and dull to photograph. A day of broken cloud, showers and drifting mist can hand you twenty minutes of something extraordinary.
Check two forecasts before you go: the Mountain Weather Information Service for the Lake District, and the Met Office mountain forecast. Read them for cloud base, wind speed, visibility and the timing of fronts rather than a single temperature. Cloud base tells you whether a summit will be clear. Wind speed tells you whether your tripod will stay upright. A front arriving at noon tells you to be on the hill by first light.
What each season gives you
- Winter and early spring: the crispest light, the longest shadows, snow on the tops and your best chance of a temperature inversion at dawn.
- Late spring: bluebells in the woods around Rannerdale and Grasmere, and long, soft evenings.
- Summer: lush greens, tall bracken and midges. Comfortable walking, hazy light, and a fair chance of rain arriving sideways.
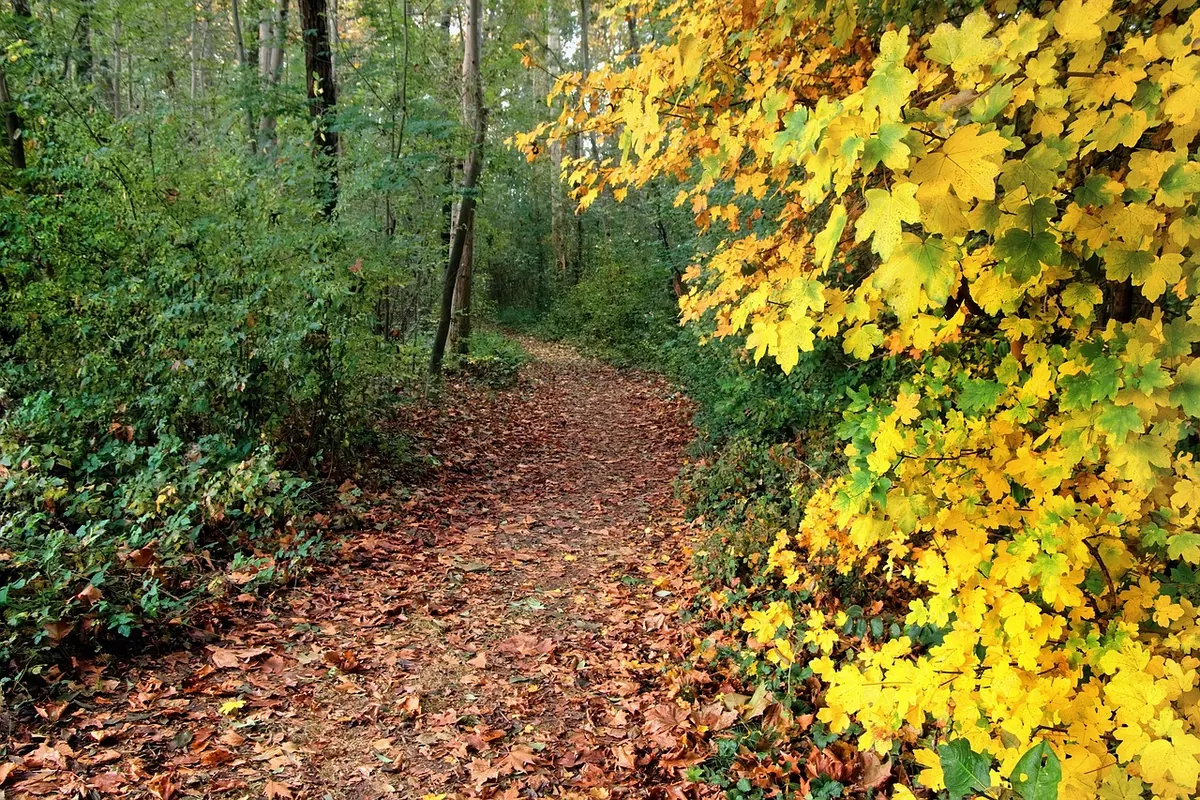
- Autumn: the best all-round month. Mist in the valleys, colour in the oak woods, and low sun raking across the fells for most of the day.
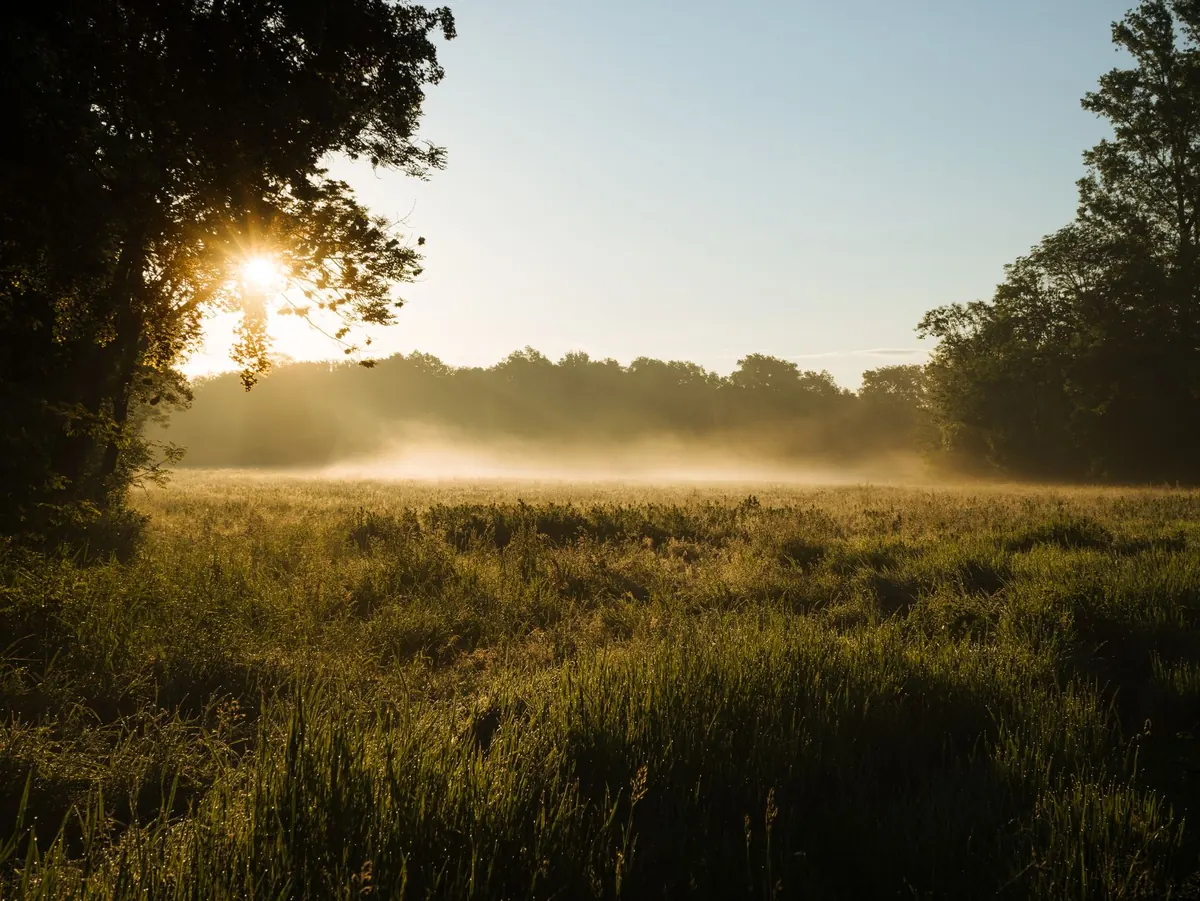
Inversions usually form after a still, clear night, so they reward an early start: on the hill before sunrise, not in the car park.
Weather that keeps walkers at home — rain, mist, wind — is often the weather that makes the photograph.
Viewpoints Worth the Walk
These are short, well-trodden and forgiving of a late start, which matters when you are learning.
- Buttermere shore: a flat lap of the lake with the famous pines and Fleetwith Pike at the western end. Twenty minutes from the village.
- Friar's Crag, Derwentwater: ten minutes from Keswick, and one of the most photographed views in England for good reason.
- Ashness Bridge and Surprise View: roadside, so ideal for a quick sunset.
- Blea Tarn: a short climb above Little Langdale with the Langdale Pikes in the frame.
- Loughrigg Terrace and summit: easy gradients, big views down Grasmere and Rydal Water.
- Wast Water: the screes drop almost straight into the lake, and the view from the road at Wasdale Head is hard to get wrong.
- Catbells: a proper little summit for a first mountain walk with a camera.
For water, Aira Force near Ullswater and the falls around Ambleside give you something to photograph when it rains.
Kit That Earns Its Place
A light kit lets you keep moving, and waterproofing matters more than another lens.
- A camera you know well, plus one wide lens (roughly 16–35mm on full frame) and one short telephoto for compressing ridges.
- A tripod tall enough to use without stooping, with a hook under the column for hanging your rucksack in wind.
- A circular polariser and a six-stop neutral density filter. Both fit in a pocket and will do more for your pictures than a new camera body.
- Spare batteries, kept in an inside pocket where they stay warm.
- Microfibre cloths, and a dry bag or rucksack liner for the camera itself.
- Waterproof jacket and trousers, boots with grip, warm layers, hat and gloves.
- A headtorch, a paper map and a compass. Not instead of those: a phone in a waterproof pouch.
Making the Photograph
Put the camera on the tripod and switch off image stabilisation if your lens has it. Set the lowest native ISO, choose an aperture between f/8 and f/13 for most scenes, and focus roughly a third of the way into the frame. Use the two-second timer or a remote release so that pressing the button does not blur the shot.
Expose for the highlights. Blown-out cloud is hard to rescue later, whereas shadows usually hold more detail than you expect. Trust the histogram rather than the preview on the back of the camera, which flatters everything. If sky and land are too far apart in brightness, either use a graduated filter — keeping it level matters at wide angles — or take two frames and blend them later.
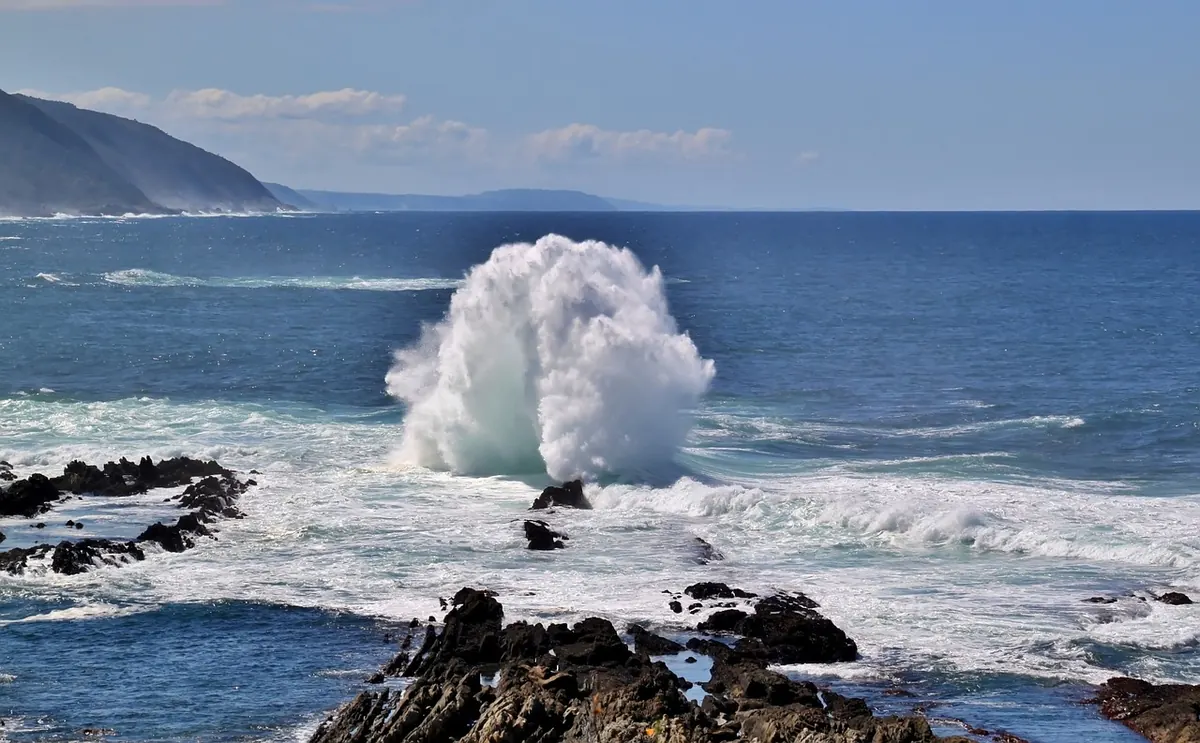
Water gives you choices. A fast shutter freezes spray and looks dramatic; a slow one, somewhere between half a second and several seconds, smooths a beck into silk. Both are legitimate. Decide which you want before you set up.
Move your feet. The difference between a snapshot and a photograph is often two metres to the left, or kneeling in the heather rather than standing upright on the path.
Staying Safe on the Fells
The Lake District is small, but it is real mountain country, and the weather on the tops is often worse than in the valley you left an hour earlier.
- Tell someone where you are going and when you expect to be back.
- Carry a map and compass and know how to use them
Photo: Rodion Kutsaiev / Pexels